
How to Make Salted Caramel Chocolate Covered Candy at Home
Introduction: The Irresistible Magic of Chocolate Covered Caramels
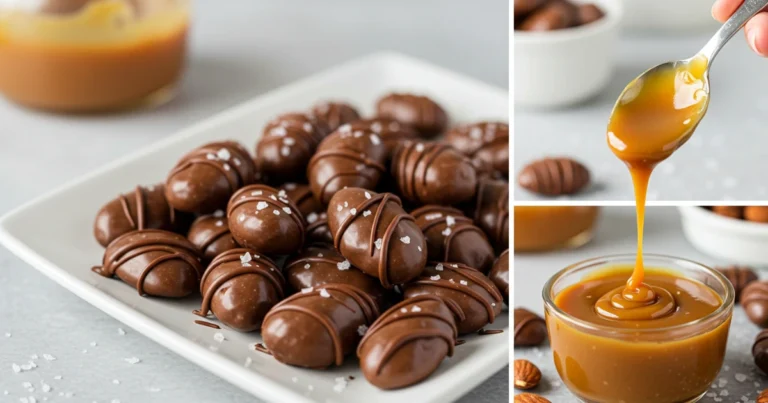
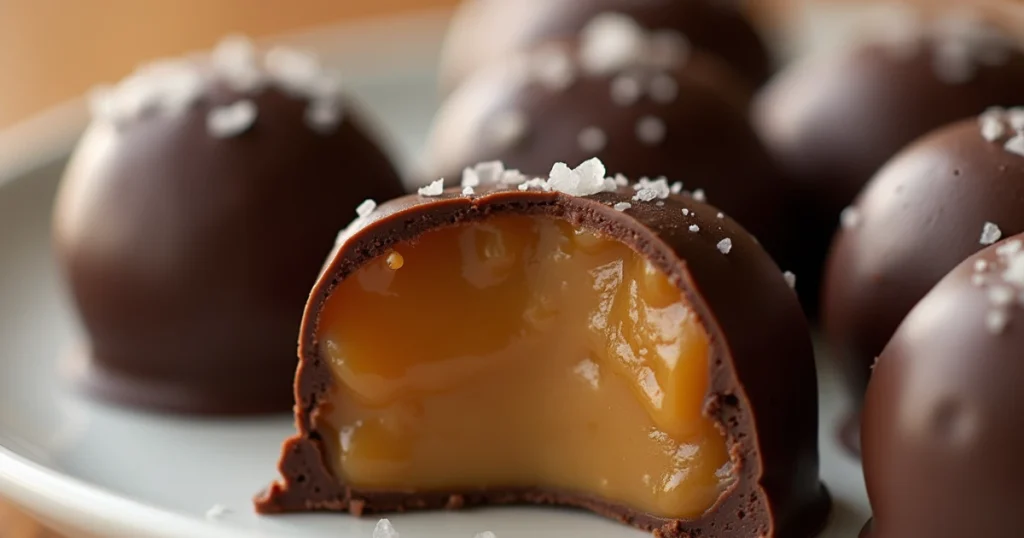
Imagine sinking your teeth into a piece of homemade chocolate-covered caramel. The rich, silky chocolate cracks slightly, giving way to a smooth, buttery caramel filling with a hint of sea salt. It’s the perfect balance of sweet and salty, creamy and crunchy.
Making these delightful treats at home is easier than you think. With just a few simple ingredients and a bit of patience, you can create gourmet-quality salted caramel chocolates in your own kitchen. This guide will take you step-by-step through the process, ensuring your homemade candy is nothing short of perfection.
Ingredients You’ll Need to Make Salted Caramel Chocolate Covered Candy
To make these irresistible treats, you’ll need a few key ingredients. Here’s a breakdown:
Caramel Ingredients
| Ingredient | Quantity |
| Granulated sugar | 1 cup |
| Unsalted butter | 6 tbsp |
| Heavy cream | 1/2 cup |
| Corn syrup | 1/4 cup |
| Vanilla extract | 1 tsp |
| Sea salt | 1/2 tsp |
Chocolate Coating Ingredients
| Ingredient | Quantity |
| Dark chocolate | 10 oz |
| Coconut oil | 1 tbsp |
Step-by-Step Guide to Making Homemade Salted Caramel Chocolates
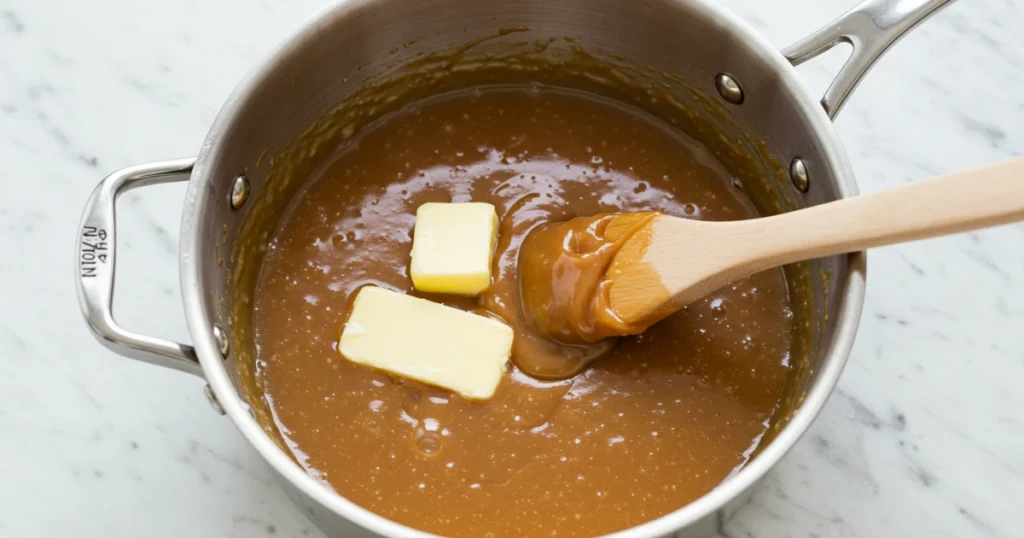
Step 1: Prepare the Caramel Base
- Warm granulated sugar in a saucepan over medium heat.Stir constantly as it melts into a golden liquid.
- Add butter, stirring until fully incorporated.
- SGradually add heavy cream while stirring continuously. The mixture will bubble, so be careful.
- Mix in sea salt and vanilla extract for extra flavor.
- Pour the caramel onto a parchment-lined pan and let it cool completely.
Step 2: Cutting and Prepping the Caramel Pieces
- Once set, cut the caramel into small squares using a sharp knife.
- Lightly sprinkle additional sea salt for enhanced flavor.
- Refrigerate the caramel pieces for at least 15 minutes to firm them up.
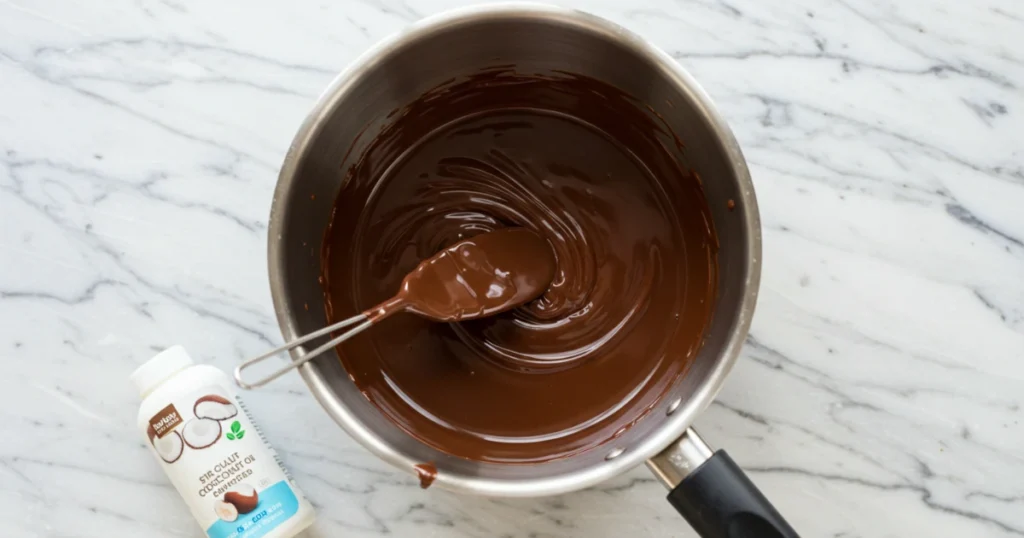
Step 3: Melting the Chocolate for the Perfect Coating
- Use a double boiler to melt the chocolate slowly, ensuring it doesn’t burn.
- Stir in coconut oil for a smooth and glossy finish.
- Keep the chocolate at a warm but not hot temperature for easy dipping.
Step 4: Dipping and Setting the Candies
- Use a fork or dipping tool to coat each caramel square in chocolate.
- Let excess chocolate drip off before placing the candies on a parchment-lined tray.
- Allow the chocolates to set at room temperature or refrigerate for faster results.
Pro Tips for the Best Chocolate Covered Caramels
- Choose Quality Chocolate: The better the chocolate, the richer the taste.
- Avoid Grainy Caramel: Stir consistently and use a thermometer to reach the perfect temperature.
- Experiment with Flavors: Try adding espresso powder, nuts, or even a pinch of chili for a unique twist.
FAQ – Chocolate Covered Caramels
What causes caramel to turn out too hard or too soft?
Caramel texture depends on temperature. Use a candy thermometer to reach 245°F for chewy caramel.
Can I substitute milk chocolate for dark chocolate?
Yes! Milk chocolate offers a sweeter taste, while dark chocolate adds depth and richness.
How can I prevent my chocolate from seizing?
Avoid water contact and melt chocolate slowly over low heat.
What’s the best way to package chocolate-covered caramels for gifts?
Use parchment separators and store them in decorative tins or boxes for a professional look.
Conclusion: A Sweet Treat Worth Making at Home
Making chocolate-covered caramels at home is a rewarding experience. Not only do you get to control the ingredients and flavors, but you also get to enjoy a truly gourmet treat. Whether for yourself, your family, or as a thoughtful gift, these homemade delights are sure to impress. Try making a batch today and share your results with us in the comments!
Enjoy your sweet creation! 🍫🍬